Posted: 2/23/2023
Distributed caching is an effective technique for improving the performance and scalability of .NET web applications. One of the most popular technologies for implementing distributed cache is Redis - an open-source, in-memory data store. In this blog post, I will show you how to set up a distributed cache in .NET 7 using Redis and Docker.
Source code: https://github.com/kubawajs/DistributedCache
Project setup
Start by creating a new project with the ASP.NET Core Web API template. Remove the example template endpoint from Program.cs and add another simple endpoint:
app.MapGet("/api/cache", () =>
{
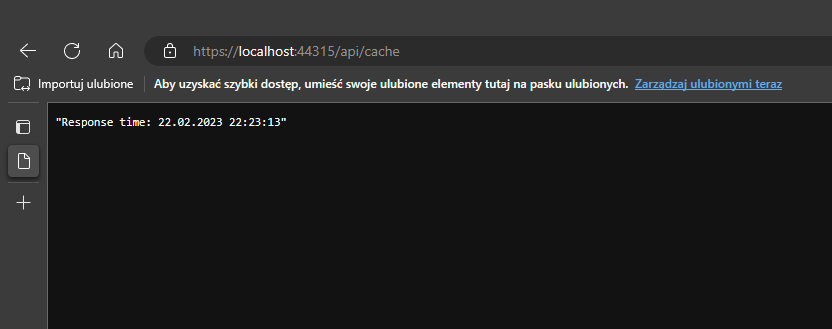
var response = $"Response time: {DateTime.Now}";
return Results.Ok(response);
});This endpoint will return the time of the generated response. As you can check in your browser, currently endpoint returns different times on each request.
Package installation
Now it’s time to install the packages required for distributed caching and Redis. We need only one - Microsoft.Extensions.Caching.StackExchangeRedis.

Register it with the built-in extension method in Program.cs:
builder.Services.AddStackExchangeRedisCache(
    options => options.Configuration = builder.Configuration.GetConnectionString("Redis"));
This code retrieves the connection string to Redis from appsettings.json. We’ll update this file later. That’s all - you can now use distributed cache in your code ;)
Docker
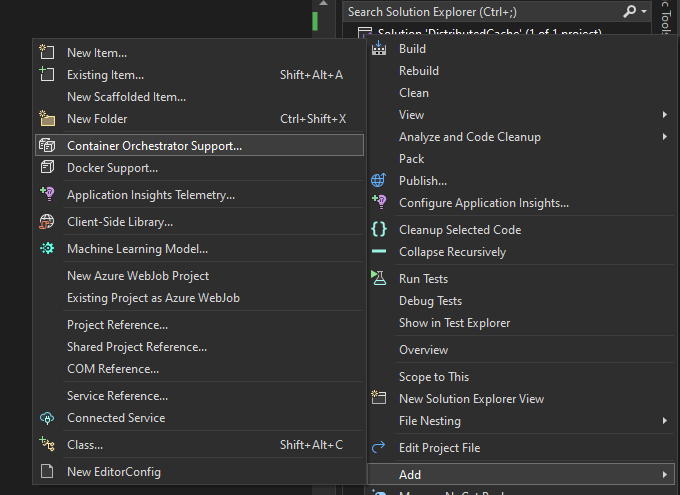
Now it’s time to set up our Docker containers for API and Redis. Start by clicking with RMB on the project in Visual Studio. Choose Add and then Container Orchestrator Support.
Next select Docker Compose with Linux as the target OS.

Visual Studio will automatically generate Dockerfile for your API and Docker Compose file. Half of the work is done without any effort ;)
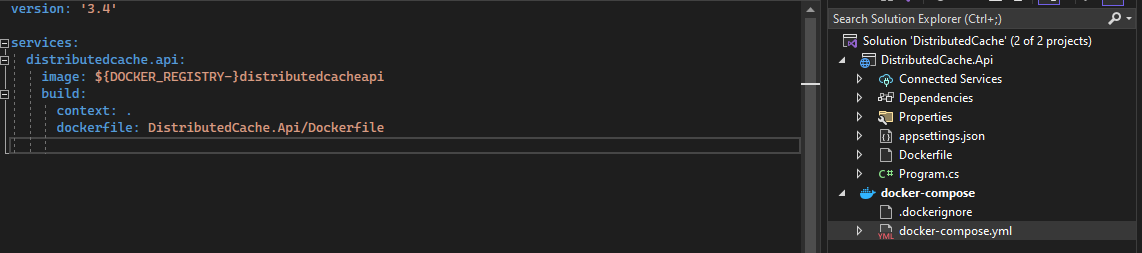
Let’s edit the compose file. The missing part is our Redis container. The code presented below will pull the latest image from the Docker registry and will use the local folder to store data (volumes section) so that the data contained in it will not be deleted when the container is removed. I’ve added also the dependency on the API container so we’ll be sure that the cache container is always initialized first.
The final code of the docker-compose file should look like the below:
version: '3.4'

services:
  distributedcache.api:
    image: ${DOCKER_REGISTRY-}distributedcacheapi
    build:
      context: .
      dockerfile: DistributedCache.Api/Dockerfile
    depends_on:
      - distributedcache.redis
  distributedcache.redis:
    image: redis:latest
    volumes:
    - ./.containers/redis:/data
    ports:
    - 6379:6379
The last thing to finish the setup is to add the connection string in the appsettings.json file. The connection string consists of two parts - service name and port (both defined in the compose file).
"ConnectionStrings": {
    "Redis": "distributedcache.redis:6379,abortConnect=False"
}
Simple caching
Let’s rebuild our endpoint from the first paragraph. To take advantage of all the benefits distributed cache has to offer we need to inject the IDistributedCache interface into our endpoint. The code presented below will try to get value from the cache and return it to the browser. I’ve also added a “FROM CACHE” prefix to the response to easily differentiate it from the non-cached one. If the key does not exist in the cache, the code will generate a new response with a new time and SetStringAsync() method will save it in Redis.
app.MapGet("/api/cache", async (IDistributedCache cache) =>
{
const string cacheKey = "TestCacheKey";
var cachedItem = await cache.GetStringAsync(cacheKey);
if (cachedItem != null)
{
return Results.Ok($"FROM CACHE: {cachedItem}");
}
var response = $"Response time: {DateTime.Now}";
await cache.SetStringAsync(cacheKey, response);
return Results.Ok(response);
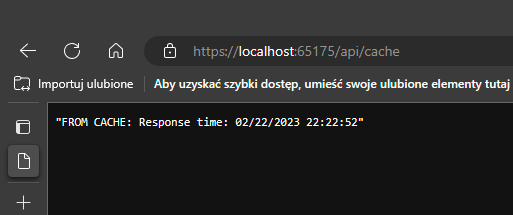
});Now let’s check in the browser if all our assumptions were correct. For the first request, the result is the same as before. But the next requests are returned from the cache.
Caching objects
The code presented in the previous section works nicely, but we used it to store simple string values. In most real-life scenarios we need to store complex objects. IDistributedCache interface exposes two methods that might be useful for this purpose: SetAsync() and GetAsync(). Both of them uses byte arrays as parameters or return type. What we need to do is to write a wrapper class that will automatically serialize and deserialize objects between byte arrays and requested types.
We’ll start with an interface. As explained in the previous paragraph, we need to have two generic methods in it.
public interface IDistributedCacheService
{
    Task<T?> GetAsync<T>(string cacheKey, CancellationToken cancellationToken = default);
    Task SetAsync<T>(string cacheKey, T cacheItem, CancellationToken cancellationToken = default);
}
Now it’s time for interface implementation. The following code of the GetAsync() method will check if the key exists in the cache and return the value deserialized from the byte array to the object passed as a generic parameter. SetAsync() method works another way around - serializes the object to the bytes array and saves its value to the cache with the given key.
internal sealed class DistributedCacheService : IDistributedCacheService
{
    private readonly IDistributedCache _cache;

    public DistributedCacheService(IDistributedCache cache) => _cache = cache;

    public async Task<T?> GetAsync<T>(string cacheKey, CancellationToken cancellationToken = default)
    {
        var cachedItem = await _cache.GetAsync(cacheKey, cancellationToken);
        if (cachedItem != null)
        {
            return JsonSerializer.Deserialize<T?>(new ReadOnlySpan<byte>(cachedItem));
        }

        return default;
    }

    public async Task SetAsync<T>(string cacheKey, T cacheItem, CancellationToken cancellationToken = default)
    {
        if (cacheItem != null)
        {
            var cacheItemBytes = JsonSerializer.SerializeToUtf8Bytes(cacheItem);
            await _cache.SetAsync(cacheKey, cacheItemBytes, cancellationToken);
        }
    }
}
In the end, register the newly created service in the DI container in Program.cs.
builder.Services.AddScoped<IDistributedCacheService, DistributedCacheService>();An example of usage in endpoint:
app.MapGet("api/objectcache", async (IDistributedCacheService cacheService) =>
{
    const string cacheKey = "TestObjectCacheKey";
    var cachedItem = await cacheService.GetAsync<Response?>(cacheKey);
    if (cachedItem != null)
    {
        return Results.Ok($"FROM CACHE: Time: {cachedItem.DateTime} Guid: {cachedItem.Guid}");
    }

    var response = new Response(Guid.NewGuid(), DateTime.Now);
    await cacheService.SetAsync(cacheKey, response);

    return Results.Ok($"Time: {response.DateTime} Guid: {response.Guid}");
});